

Two summers ago, our neighbors gifted us a play kitchen that their kids had outgrown. My daughter was still young, but we gladly accepted it, and it stored books and other toys out of sight for another year.
When my daughter turned two, her imaginary play increased and she started playing with the kitchen more often. The kitchen didn’t quite fit with our decor with its pastel greens, blues, and pinks, so one day I decided to give it a makeover. Here’s what it looked like before.
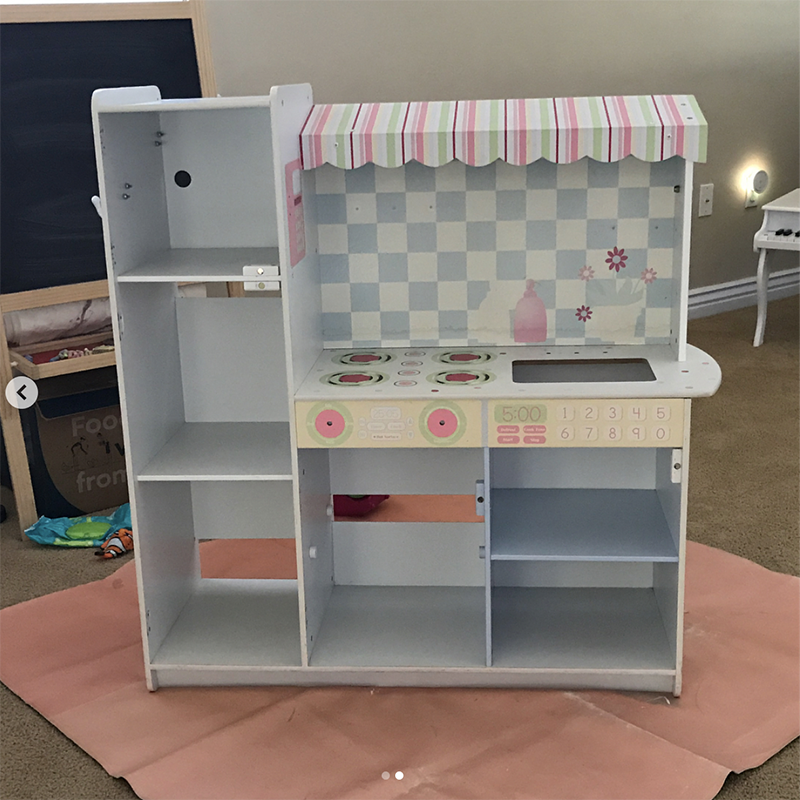
It’s pretty straightforward, but I’ll walk you through the process.
Supplies
- Quart of paint (depending on size of kitchen)
- Small paint roller
- Small paint brush for corners and details
- Spray paint (at least 2 cans for multiple coats)
- Paint tape
- Stick-on subway tile or other decorations and finishes, could also use contact paper
Instructions
- Take everything apart
- Set aside the screws in a plastic bag or bin so that you don’t lose them
- Tape off anything that will not be painted (the clear oven window, microwave, etc.)
- Paint and let dry — I did three coats.
- Re-assemble and admire your work!
I chose to buy a quart of white, un-tinted paint, right from the shelf from Home Depot. I didn’t mix any color. I wanted to change the “hardware” and finishes to gold, so I bought two bottles of gold spray paint. The last item I picked up was stick-on subway tile for the backsplash. This was the most expensive part of the project. I needed four squares and they’re about $16 a square. But it totally takes the kitchen to the next level. If I can’t have subway tile in my kitchen, then at least my daughter can.
I also considered putting down contact paper with a butcher block print, but decided against it because I thought it would get beat up quickly and the scuff marks and all that would bother me even more.
I thought it would be fun to add some stick-on LED lights and a tiny bluetooth speaker, but never ended up doing it. I did go and pick up some white plastic bins to organize her play food within the cabinets.
Here’s the after!
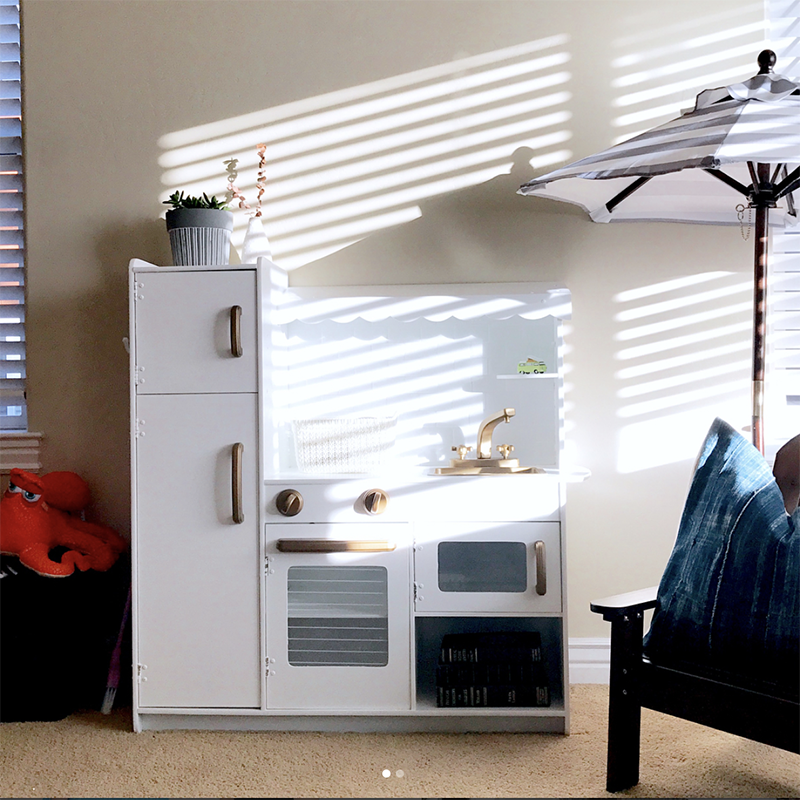
Overall, the project cost $75, with the majority of that coming from the subway tile ($66). For that price I could’ve bought a new kitchen set, but ours is unique and isn’t an eyesore anymore. For a day and a half of work, it’s a fun and easy project that anyone can do.
Have you taken on a DIY kids kitchen project before?


")
